こんにちは、B.すずめです。
Photoshopで文字にグラデーションを付けるときに、僕がやってる方法をご紹介します。
今やフォトショップもビジネスツールとしては欠かせませんからね!
ちょっとしたテクニックが役に立ちます。
文字にグラデーションをかけるときは、長方形シェイプにグラデーションをかけて、それを文字にクリッピングマスクします。
そうするとグラデーションの拡大縮小も自由にできるので、柔軟性があり編集がやりやすくなります。
文字にグラデーションを付けるときには、参考にしてみてください。
せっかくなのでPSDファイルも置いときます
gradation.zip(21KB)(グラデーション.psd)をダウンロード >
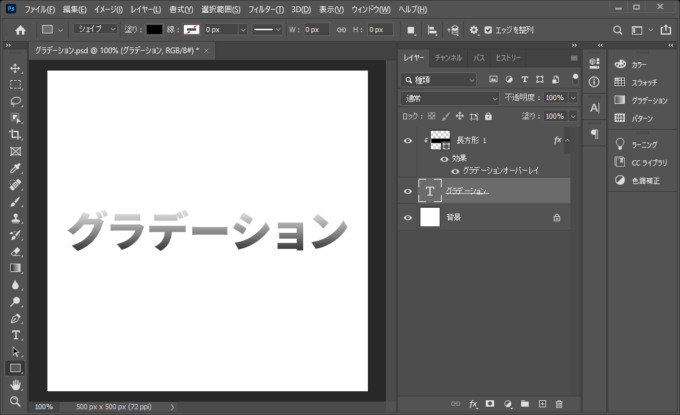
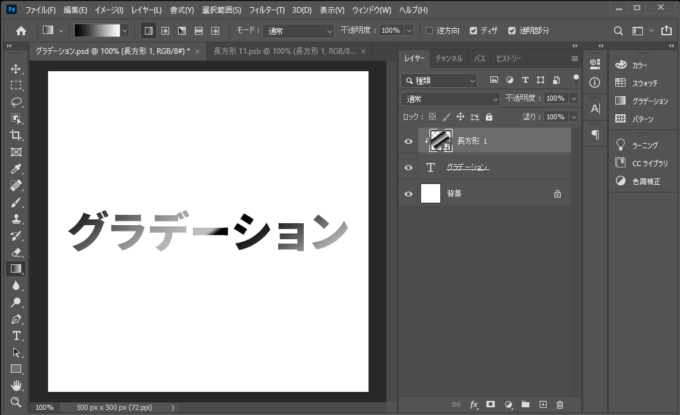
1.文字を書く
まずグラデーションをかけたい文字を書きます。
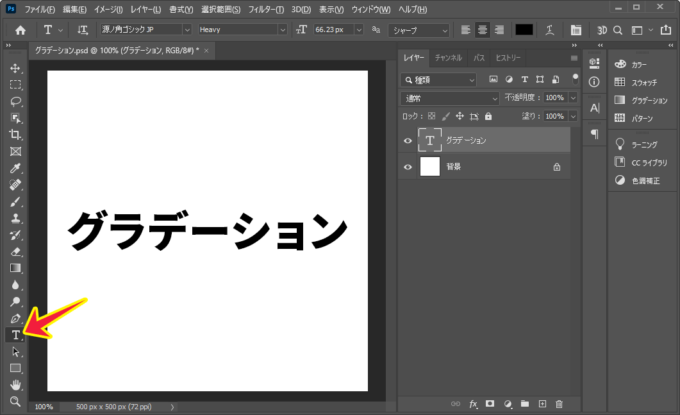
グラデーションをかけたい文字を用意します
2.長方形シェイプを作る
長方形シェイプがグラデーションの元です。
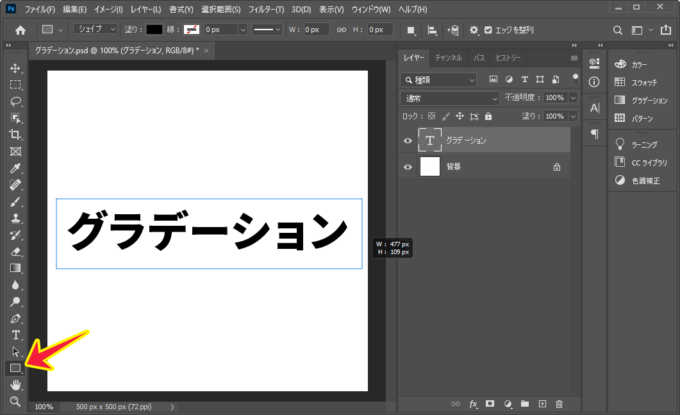
長方形シェイプを文字の上につくります
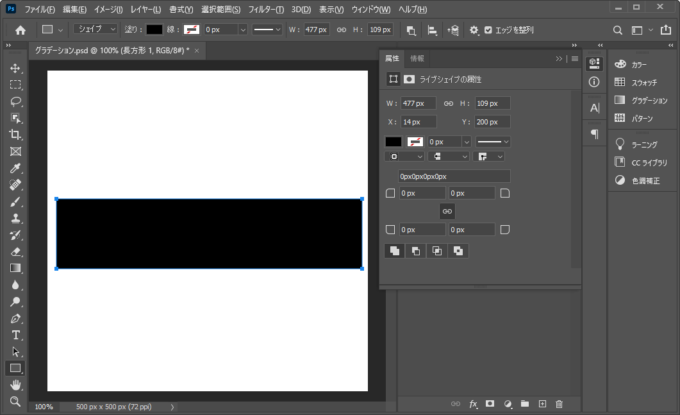
色のついた長方形シェイプができました
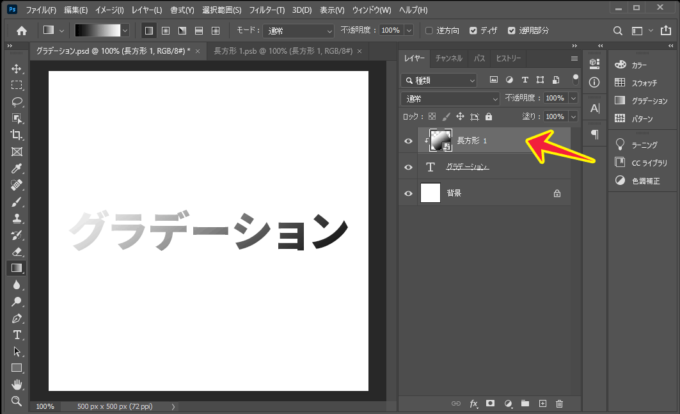
3.シェイプの塗りを「0%」にする
シェイプの塗りを「0%」にすることで、このあとかけるレイヤー効果のグラデーションを直に反映することができます。
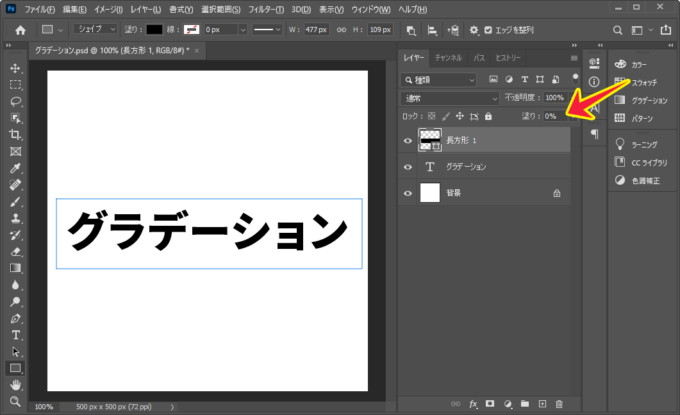
塗りを「0%」にします
4.シェイプを文字にクリッピングマスクする
「Alt(Mac:option)」を押しながら「シェイプ」レイヤーと「文字」レイヤーの間にカーソルをもっていくとカーソルが「四角と矢印」のアイコンに変わりますので、そこでクリックすると、「文字」をマスクとした「シェイプ」レイヤーに変わります。
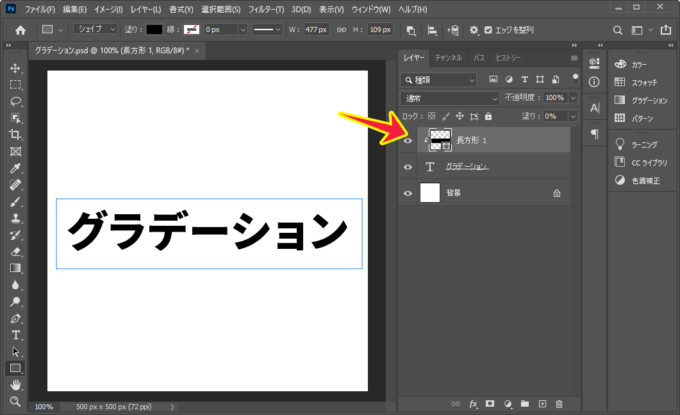
レイヤーの左に出た矢印がクリッピングマスクされている印です
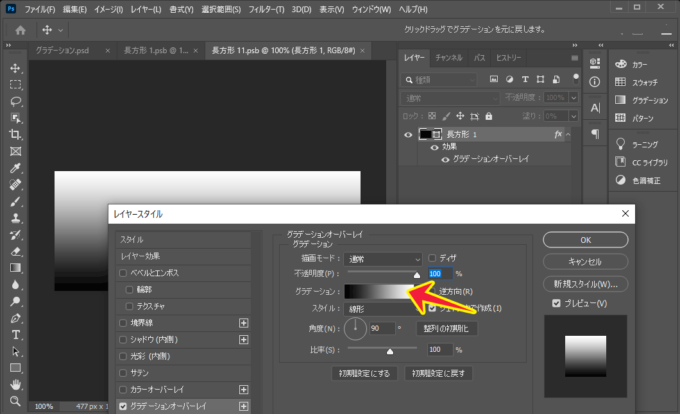
5.シェイプにレイヤースタイル「グラデーション」をかける
「シェイプ」レイヤーをダブルクリックして、「レイヤースタイル」を起動します。
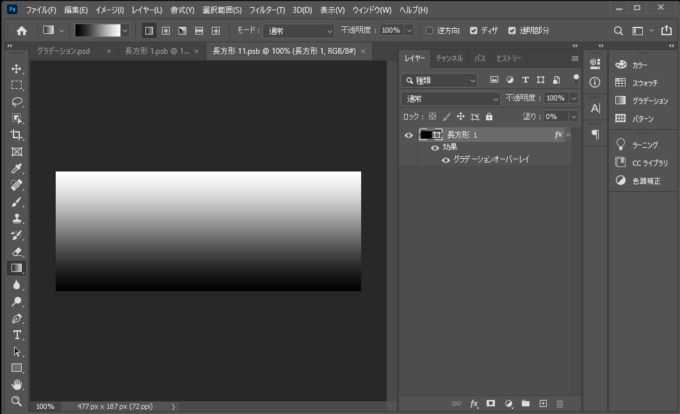
「グラデーションオーバーレイ」を選んで「描画モード」を「通常」にして、グラデーションを設定します。
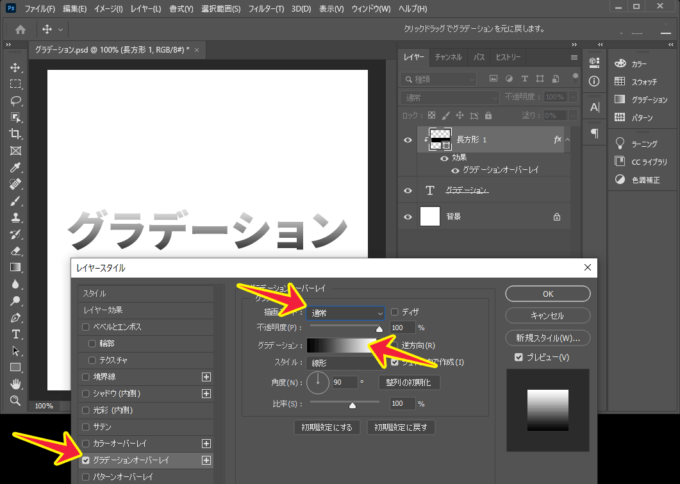
とりあえず、描画モードが「通常」になっていないと意図しない効果になる場合があります
グラデーションがかかりました
6.シェイプレイヤーを「スマートオブジェクト」にする
「シェイプ」レイヤーを「右クリック(Mac:Control+クリック)」して出てきたメニューから「スマートオブジェクト」を選択して変換します。
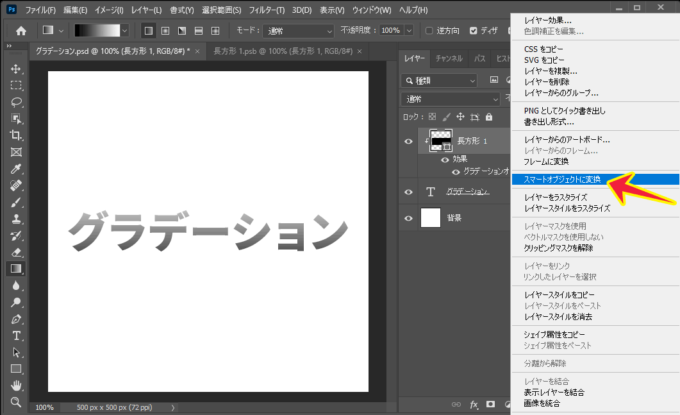
スマートオブジェクトにすることで、変形できるグラデーションになります
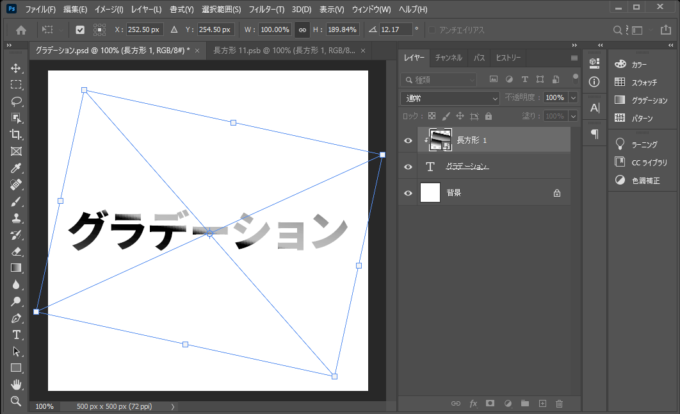
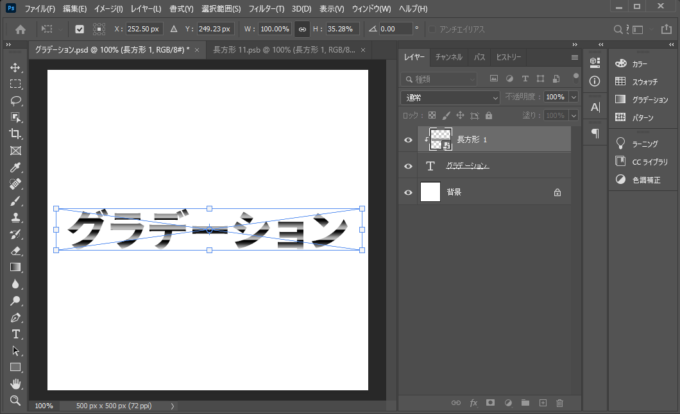
7.柔軟に編集できるグラデーション誕生
「スマートオブジェクト」にしたので、変形してもグラデーションも一緒に拡大・縮小・回転ができるようになりました。
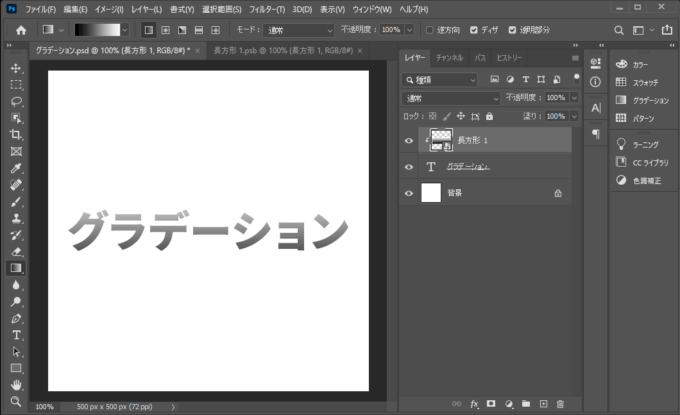
柔軟に編集できるグラデーション誕生
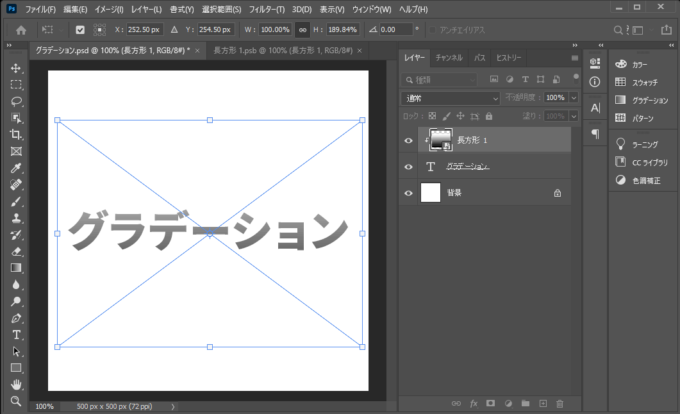
「Ctrl+T(Mac:Command+T)」で変形してみましょう。
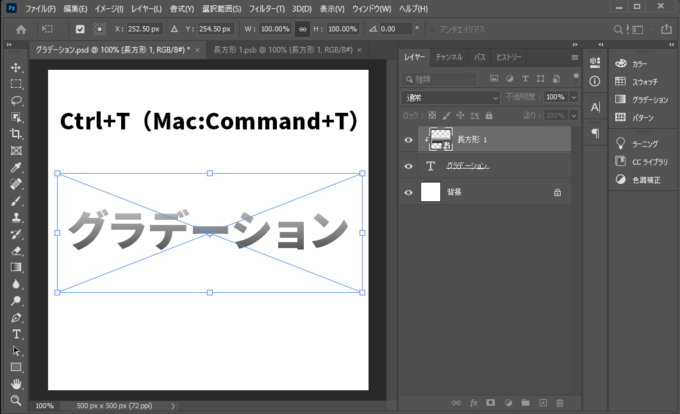
実際に変形してみましょう
縦に拡大してみると・・・

グラデーションも縦に伸びました
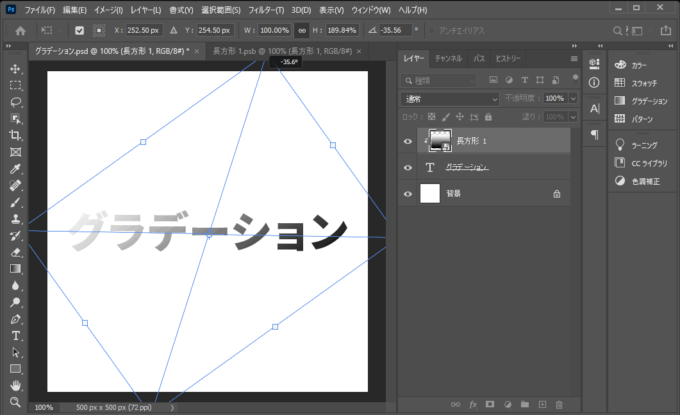
回転してみたほうがわかりやすいですね
8.スマートオブジェクトの中に入りグラデの編集可能
グラデーションのパターンの変更も可能です。
「シェイプ」レイヤーの画像部分をダブルクリックすると、スマートオブジェクトの中に入れます。
レイヤーの空白部分をダブルクリック
そこに、レイヤー効果が残ってますので、そこでグラデーションを変更できます。
スマートオブジェクトの中に入りました
グラデーションを編集してみましょう

真ん中に区切りを作ってみました
結果もこのように変更されました
回転して調整してみます
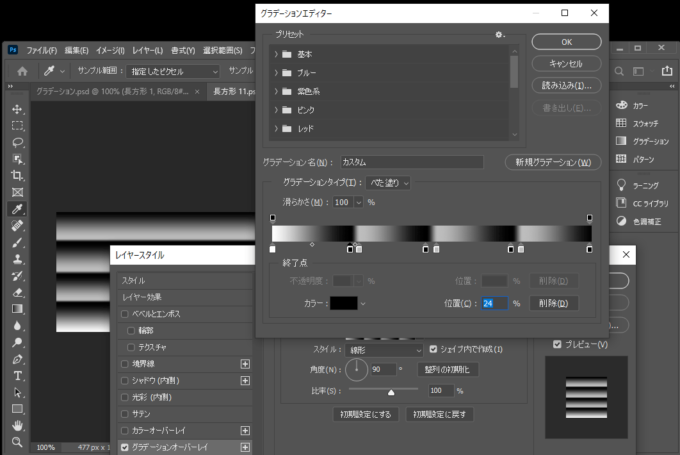
グラデーションを細分化してみました

結果、こんな感じで反映されました
水平に戻すのもシェイプを変形して視覚的に、簡単にできます
以上が「Photoshopで文字に柔軟に編集できるグラデーションを付ける方法」でした。

文字にレイヤースタイルを設定するより編集が簡単です
他にも応用がきくと思いますので、いろいろ発見して楽しんでください^^


コメント